
Yogurt Container Planters

Prep
10 min
Beginner
10
points

Note All containers must be unlabeled and neutral in colour. No branded dairy packaging. Milk Club props (apron, mixing bowl, whisk, etc.) will be provided by the client for applicable crafts.
What You'll Need
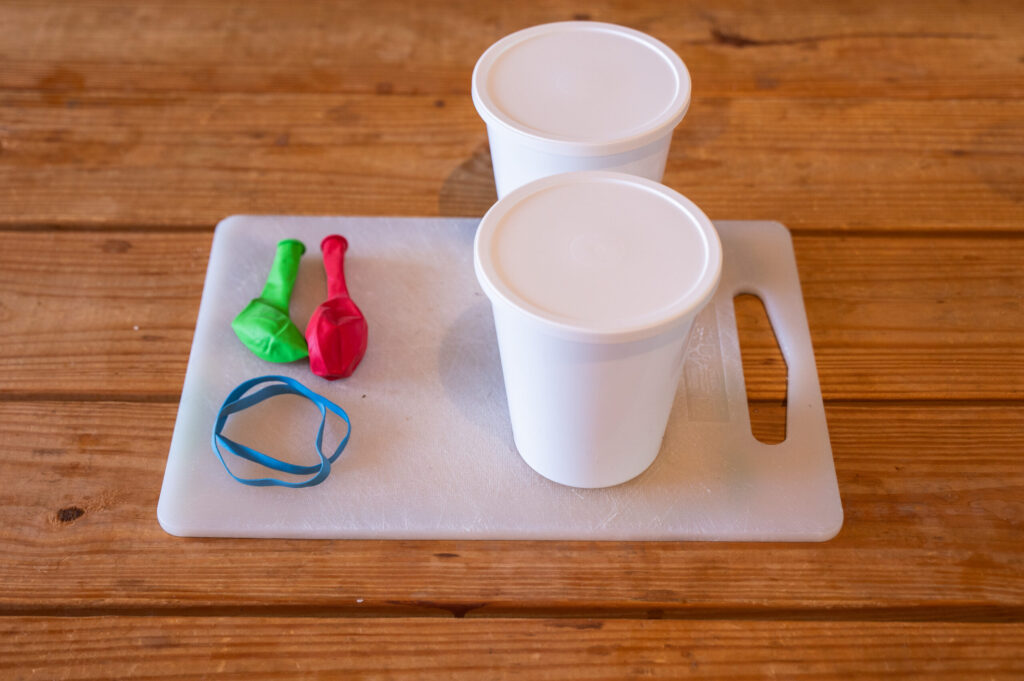
- 1 clean, dry yogurt container (unlabeled/neutral colour)
- Skewer or nail (for drainage holes)
- Small stones or pebbles (optional)
- Potting soil
- Seeds of choice
- Watering can or cup
Steps
- Wash and dry the container.
- Decorate the outside of the container as desired before adding holes.
- Poke drainage holes in the bottom using a skewer or nail.
- Add a thin layer of small stones to the bottom (optional, for drainage).
- Fill with potting soil.
- Add seeds and cover lightly with soil.
- Water gently.
- Place near sunlight.
Shot List
- Hole poking macro
- Soil pouring
- Seed placement close-up
- Watering shot
- Sprout progress